Went to Lowes Tues and picked up most of the supplies I'll need to make the panels for the open house. My favorite thing about going to get my hardboard cut is the scrap pieces, always fun to think of what you can do with them, more paintings and such. Four of the 5 painting boards I'm making for the open house were scrap pieces, so never throw em away when they ask if you want the scraps, they come in handy, and your paying for em.
This month I'll be going through the whole painting process, from surface construction to finished painting, to help those who want to know how to do it, and for those who are just curious what goes into making your surface from about as close to scratch as you can get with out growing the trees yourself.

Here you have a sheet of hardboard, it's also called Masonite, but that's the brand name not the product, the actual wood being called hardboard. Then the board you use to cradle with is poplar, I prefer this over pine, from what I've been told pine has a greater chance of warping over time.
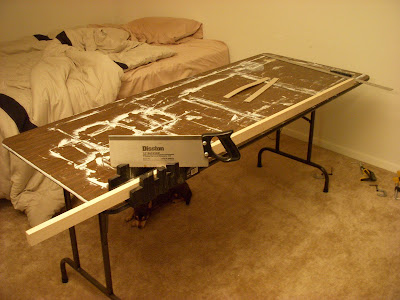

Cut the size you need to go around the inside area of the hardboard from the poplar, making a 45 degree angle cut on both ends. The longest end of the cut, where it tapers off, should be the length of your board. So if your board is 16x20, cut your poplar to 16 and 20 inch cuts, don't over compensate for the outside edge, because these are cradling the hardboard, not framing it.

Using wood glue and vice grips ( and if your cheap like me weights cause you didn't have enough vice grips) set the poplar pieces to the edge of the hard board, making the two woods flush with one another to make a smooth edge. This should set for at least 30min, or even longer if you want to make sure you have a tight fit. Don't stress newly glued joints for 24hrs after gluing.

Your corners should look like this if you did the 45 degree angle. You can also elbow joint it if you want, not sure if either is better structural makeup, I just prefer the look of the 45 degree angle fit.

Just continue to glue the poplar down to the edge of the board to make a flat edge, try your best to get no hang over of the poplar or hardboard.

The finished cradle with a cross bar. Right now time and money wont permit, but I think from now on just for looks and better structure I'm going to start putting in corner bars too. People may never see this side of your painting, but it's still important to me to have good craftsmanship and aesthetics. This is only my 2nd cradled board so there's always room for improvement, corner bars next time!

Now we begin prepping the board. First thing, tape off the edge of your cradle to protect from the dripping of all the paint, polymer, and materials you'll be using. This will give you a nice clean edge on your board.

Now apply GAC 100 from golden. This helps keep the hardboard from damaging the paint after your finished. A lot of hardboard comes tempered with chemicals that can eventually damage and seep into your painting over time, causing discoloring. I do two coats to make sure the surface is well and sealed.

Now go back in with another polymer medium to seal off the edges of the tape more, here I'm using regular gel gloss from Golden. This will help do the same thing the tape will do, but in my experience I've had oil washes seep down between the cradle and tape, so here I do this to help protect against thin downed materials that will sometimes breach the tape.

Finally we get to gesso the board. Here I apply 3 to 4 coats to cover up and color of the hardboard and to make a solid surface barrier between the board and the paint. This will help with adhesion of the paint and a more archival surface for the paint to rest on.
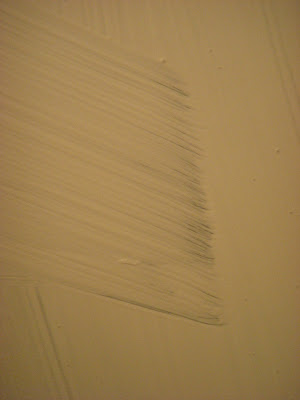
Should have enough coats of gesso so that areas like these don't show any of the hardboard underneath. Go for completely white.
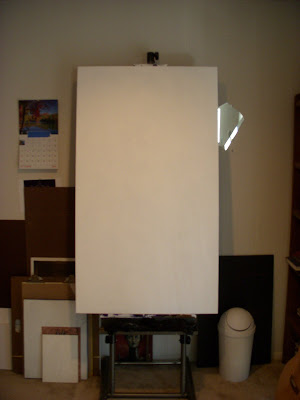
Board finished and ready to paint on. I'll add my steps of painting as I get this guy done over the next 3 weeks. Peace.



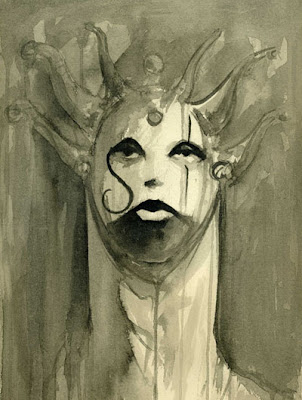
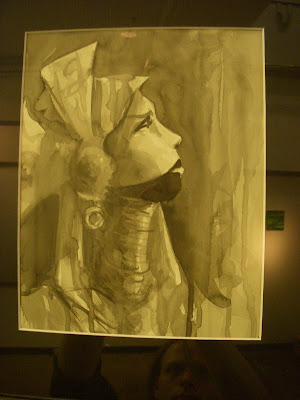
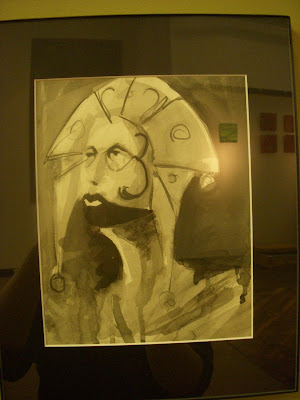
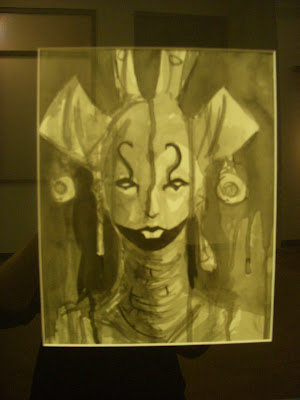

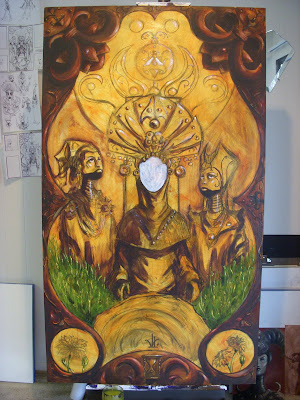
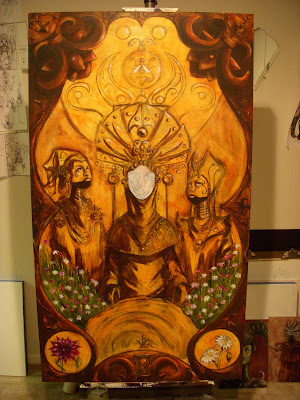
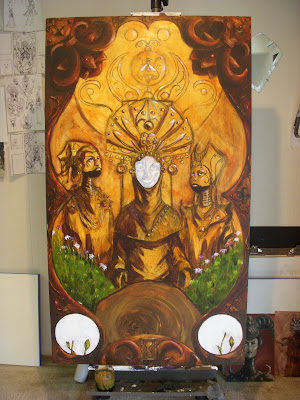
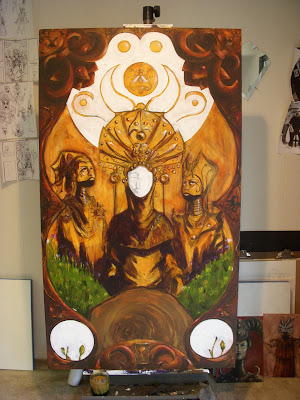
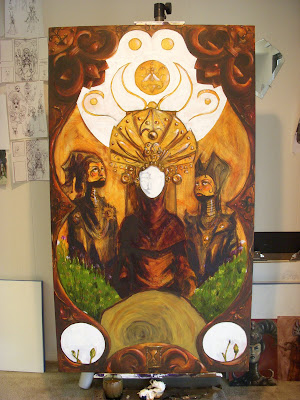
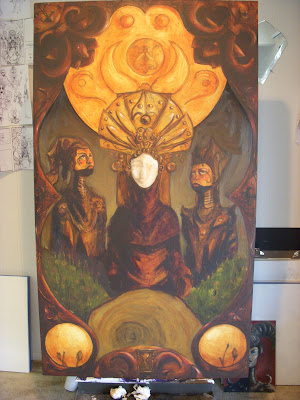
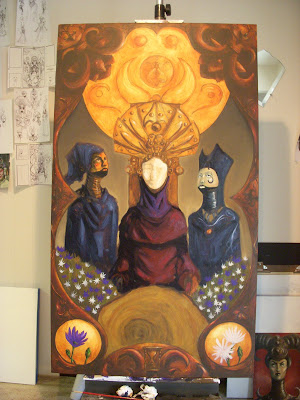


 The final drawing for the center painting. Decided on a few things while I was getting toward a final image: The main subject matter, the matriarch and two children, were increased in size and moved to be more prominent. Also removed the four other guest, as it was feeling a lil to cramped, plus they played no major roll, at least not in the center painting. They will more than likely be moved to one of the other paintings, as their purpose will be better suited there. I'm not completely ready to give the whole story here, as it is changing as the piece is completed. Some of the allegory and symbolism used can be pretty easy to understand, mainly the ones that are fairly obvious, the hour glass and bee emblem for instance. There is other information but there is no real way anyone else will see it until I start to develop a visual vocabulary with a series of these paintings. I'll try and post something more complete on whats going on here the night before it's shown.

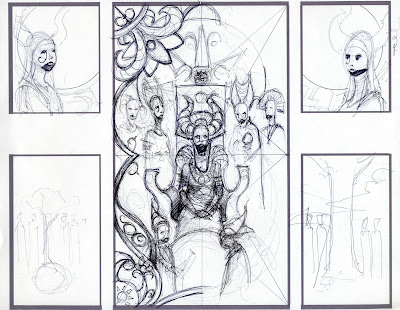
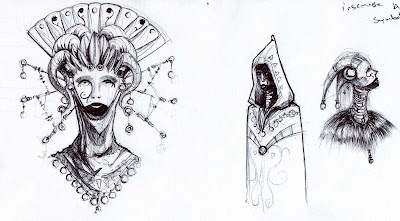 Just more ideas on the matriarch's headdress and what the guests attire will look like.
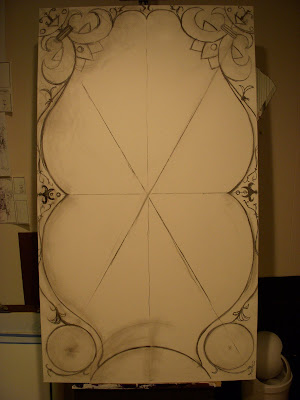
 First start out with drawing half the design, making sure my lines are fairly clean and easy for me to trace. I keep a bunch of my sketches of ideas and such up next to my board for obvious reasons, this helps me focus on the things I liked from my previous ideas with out having to go search for a sketch when I remember something I liked about it.
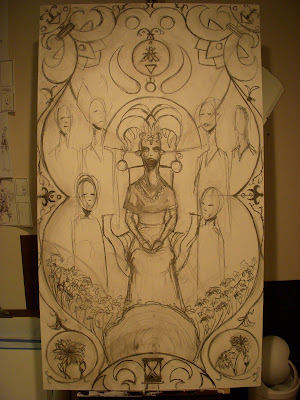
 Very basic sketch not much detail and still needs to be refined, but a lot of that is going to be done with the paint as the drawing I'm using just for the shapes and composition.
 Here you have a sheet of hardboard, it's also called Masonite, but that's the brand name not the product, the actual wood being called hardboard. Then the board you use to cradle with is poplar, I prefer this over pine, from what I've been told pine has a greater chance of warping over time.
 Cut the size you need to go around the inside area of the hardboard from the poplar, making a 45 degree angle cut on both ends. The longest end of the cut, where it tapers off, should be the length of your board. So if your board is 16x20, cut your poplar to 16 and 20 inch cuts, don't over compensate for the outside edge, because these are cradling the hardboard, not framing it.
 Using wood glue and vice grips ( and if your cheap like me weights cause you didn't have enough vice grips) set the poplar pieces to the edge of the hard board, making the two woods flush with one another to make a smooth edge. This should set for at least 30min, or even longer if you want to make sure you have a tight fit. Don't stress newly glued joints for 24hrs after gluing.
 Your corners should look like this if you did the 45 degree angle. You can also elbow joint it if you want, not sure if either is better structural makeup, I just prefer the look of the 45 degree angle fit.
 Just continue to glue the poplar down to the edge of the board to make a flat edge, try your best to get no hang over of the poplar or hardboard.
 The finished cradle with a cross bar. Right now time and money wont permit, but I think from now on just for looks and better structure I'm going to start putting in corner bars too. People may never see this side of your painting, but it's still important to me to have good craftsmanship and aesthetics. This is only my 2nd cradled board so there's always room for improvement, corner bars next time!
 Now we begin prepping the board. First thing, tape off the edge of your cradle to protect from the dripping of all the paint, polymer, and materials you'll be using. This will give you a nice clean edge on your board.
 Now apply GAC 100 from golden. This helps keep the hardboard from damaging the paint after your finished. A lot of hardboard comes tempered with chemicals that can eventually damage and seep into your painting over time, causing discoloring. I do two coats to make sure the surface is well and sealed.
 Now go back in with another polymer medium to seal off the edges of the tape more, here I'm using regular gel gloss from Golden. This will help do the same thing the tape will do, but in my experience I've had oil washes seep down between the cradle and tape, so here I do this to help protect against thin downed materials that will sometimes breach the tape.
 Finally we get to gesso the board. Here I apply 3 to 4 coats to cover up and color of the hardboard and to make a solid surface barrier between the board and the paint. This will help with adhesion of the paint and a more archival surface for the paint to rest on.
